


Hey there! As a supplier of AC copper fittings, I've had my fair share of experiences with these nifty little parts. Today, I'm gonna walk you through the process of installing AC copper fittings in a vertical pipe. It might sound a bit tricky, but with the right steps and some know - how, you'll be able to do it like a pro.
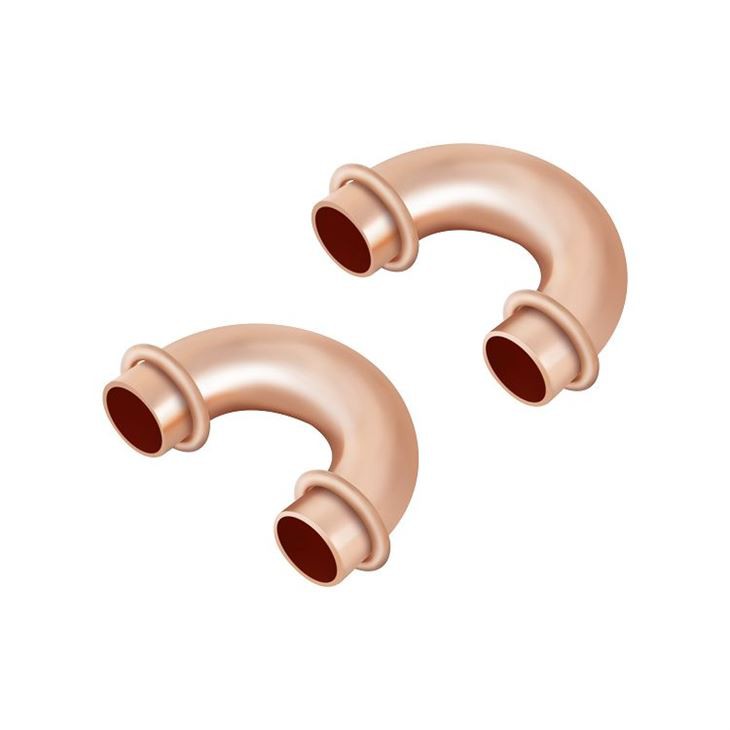
First things first, let's talk about why you'd want to use AC copper fittings. Copper is a great material for air - conditioning systems. It's highly conductive, which means it can transfer heat efficiently. Plus, it's durable and resistant to corrosion, so your AC system will last longer. And as a supplier, I can tell you that we've got a wide range of fittings to suit all your needs, like Air Conditioning Copper U Bend, Refrigeration Copper Fittings, and Crossover Bend Copper Fittings.
Pre - installation Preparations
Before you start installing the AC copper fittings, you need to make sure you've got everything you need. Here's a quick checklist:
- Copper Fittings: Obviously, you'll need the right type and size of copper fittings for your vertical pipe. Make sure to measure the pipe diameter accurately to get a proper fit.
- Pipe Cutter: A good quality pipe cutter is essential for cutting the copper pipe cleanly. Avoid using a hacksaw as it can leave rough edges.
- Deburring Tool: After cutting the pipe, you'll need to remove the burrs from the edges. A deburring tool makes this job a breeze.
- Flux: Flux helps to clean the copper surfaces and prevent oxidation during the soldering process. It also improves the flow of solder.
- Solder: Choose a solder that's suitable for copper pipes. Make sure it has the right melting point.
- Torch: A propane torch is commonly used for soldering copper fittings.
Once you've gathered all your tools and materials, it's time to prepare the pipe. Start by measuring and marking the pipe where you need to make the cuts. Use a pipe cutter to make clean, straight cuts. After cutting, use the deburring tool to smooth out the edges of the pipe. This is important because rough edges can prevent a proper seal when you install the fittings.
Cleaning and Applying Flux
Cleanliness is key when it comes to soldering copper fittings. Use a wire brush or sandpaper to clean the outside of the pipe and the inside of the fitting. This will remove any dirt, grease, or oxidation that could interfere with the soldering process.
After cleaning, apply a thin layer of flux to the outside of the pipe and the inside of the fitting. Make sure to cover the entire area where the pipe and fitting will meet. Flux not only cleans the surfaces but also helps the solder flow evenly.
Fitting Assembly
Now it's time to assemble the fittings. Insert the pipe into the fitting until it reaches the stop. Make sure the pipe is straight and centered in the fitting. You can use a fitting guide or a square to ensure proper alignment.
If you're working with multiple fittings, like elbows or tees, assemble them in the correct order. Make sure all the joints are tight and there are no gaps between the pipe and the fitting.
Soldering the Fittings
This is the most critical part of the installation process. Heat the joint with a propane torch. Move the torch in a circular motion around the joint to heat the copper evenly. You'll know the copper is hot enough when the flux starts to bubble.
Once the copper is hot, touch the solder to the joint. The heat from the copper will melt the solder, and it will be drawn into the joint by capillary action. Keep adding solder until the joint is filled. Make sure to fill the joint completely, but don't use too much solder as it can block the pipe.
After soldering, let the joint cool down naturally. Don't try to cool it with water as this can cause the solder to crack. Once the joint is cool, wipe off any excess flux with a clean cloth.
Installing the Fittings in the Vertical Pipe
When installing the copper fittings in a vertical pipe, there are a few things to keep in mind. First, make sure the pipe is properly supported. You can use pipe hangers or brackets to hold the pipe in place. This will prevent the pipe from sagging or moving during the installation process.
If you're installing multiple fittings in a vertical pipe, it's a good idea to work from the bottom up. This will make it easier to align the fittings and ensure proper drainage.
Testing the Installation
Once you've installed all the fittings, it's time to test the system. First, check for any visible leaks. Look for signs of solder that didn't flow properly or gaps between the pipe and the fitting. If you find any leaks, you'll need to re - heat the joint and add more solder.
After checking for visible leaks, it's a good idea to pressure test the system. This will help you identify any hidden leaks. You can use a pressure tester to apply pressure to the system and check for any drops in pressure.
Maintenance Tips
To keep your AC copper fittings in good condition, it's important to perform regular maintenance. Check the joints periodically for any signs of leaks or corrosion. If you notice any problems, address them immediately.
Also, make sure to keep the pipes clean. Dirt and debris can accumulate in the pipes over time, which can reduce the efficiency of your AC system. You can use a pipe cleaner or a mild detergent to clean the pipes.
Troubleshooting
If you encounter any problems during the installation process, don't panic. Here are some common issues and how to fix them:
- Leaking Joints: If a joint is leaking, it could be due to improper soldering. Re - heat the joint and add more solder. Make sure to clean the surfaces and apply flux before re - soldering.
- Blocked Pipes: If you notice a blockage in the pipe, it could be due to excess solder or debris. You can try using a pipe cleaner or a small wire to clear the blockage. If the blockage is severe, you may need to cut out the affected section of the pipe and replace it.
Conclusion
Installing AC copper fittings in a vertical pipe might seem like a daunting task, but with the right tools, materials, and techniques, it's definitely doable. Remember to follow all the safety precautions when working with torches and soldering equipment.

As a supplier of AC copper fittings, I'm here to help you with all your needs. Whether you're a professional HVAC technician or a DIY enthusiast, we've got the right fittings for you. If you have any questions or need more information about our products, feel free to reach out. We're always happy to assist you in your projects and help you find the best solutions for your AC systems. Let's work together to make your air - conditioning installation a success!
References
- HVAC Installation Manuals
- Copper Development Association Guides
- Plumbing and HVAC textbooks