

Installing an air conditioning pipeline is a crucial step in setting up an efficient and reliable air conditioning system. As a leading Air Conditioning Pipeline supplier, I have extensive experience in this field and am excited to share a comprehensive guide on how to install an air conditioning pipeline.
Pre - installation Preparation
Before starting the installation process, it is essential to conduct a thorough site inspection. Measure the distance between the indoor and outdoor units precisely. This measurement will determine the length of the pipeline required. Consider the layout of the building, including the presence of walls, ceilings, and other obstacles that may affect the routing of the pipeline.
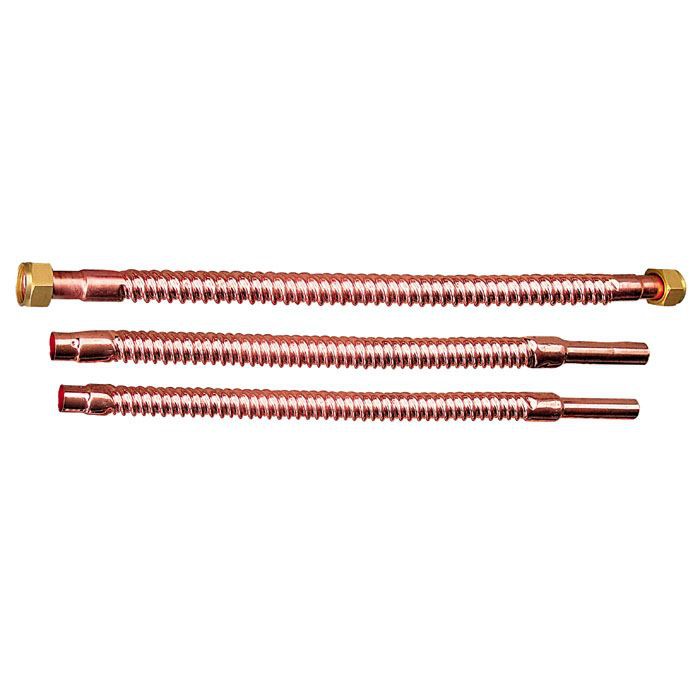
Select the appropriate materials for the air conditioning pipeline. For high - quality and durable options, we recommend our Air Conditioning Red Copper Threaded Pipe. Copper is an excellent choice due to its high thermal conductivity, corrosion resistance, and ease of bending and soldering. Ensure that the pipes have the correct diameter according to the specifications of the air conditioning system. A too - small diameter can lead to restricted refrigerant flow, while a too - large diameter may result in inefficient operation.
Gather all the necessary tools for the installation. These typically include a pipe cutter, a flaring tool, a soldering torch, a refrigerant gauge set, a vacuum pump, and a leak detector. Make sure all tools are in good working condition and that you have the appropriate safety equipment, such as gloves and goggles.
Pipeline Routing
When routing the air conditioning pipeline, aim for a straight and short path between the indoor and outdoor units. This reduces the pressure drop in the refrigerant system and improves the overall efficiency of the air conditioner. However, if there are obstacles, use 90 Street Elbow Copper to make smooth bends. Avoid sharp bends as they can cause significant pressure losses and may even damage the pipeline.
If the pipeline needs to pass through walls or floors, drill holes of the appropriate size. Make sure to seal the holes properly after the pipeline is installed to prevent air leakage and water ingress. Insulate the pipeline to minimize heat transfer and reduce energy loss. You can use foam insulation sleeves specifically designed for air conditioning pipelines.
Pipe Connection
Cut the copper pipes to the required length using a pipe cutter. Make sure the cuts are clean and perpendicular to the pipe axis. Use a deburring tool to remove any sharp edges or burrs from the cut ends.
For the connection of pipes, there are mainly two methods: flaring and soldering. When using the flaring method, use a flaring tool to create a flare at the end of the pipe. The flare should be smooth and uniform. Then, connect the flared pipe to the corresponding fitting and tighten the nut using a wrench.
Soldering is another common method for pipe connection. Clean the surfaces of the pipes and fittings to be soldered with sandpaper or a wire brush to remove any oxide layers. Apply flux to the cleaned surfaces to prevent oxidation during soldering. Heat the joint with a soldering torch until the flux begins to bubble. Then, insert the solder wire into the joint. The solder will melt and flow into the gap between the pipe and the fitting due to capillary action. Ensure that the joint is completely filled with solder and that there are no voids or leaks.

Vacuuming and Leak Testing
After the pipeline is installed and connected, it is necessary to evacuate the air from the system using a vacuum pump. Connect the vacuum pump to the refrigerant system through the service ports. Turn on the vacuum pump and let it run for a sufficient time until the system reaches a deep vacuum. A deep vacuum helps to remove moisture and non - condensable gases from the system, which can cause damage to the compressor and reduce the efficiency of the air conditioner.
Once the system is under vacuum, perform a leak test. Use a leak detector to check all the joints and connections in the pipeline. If a leak is detected, mark the location and repair it immediately. You can re - solder the joint or tighten the connection as appropriate.
Refrigerant Charging
After confirming that there are no leaks in the system, it is time to charge the refrigerant. Refer to the manufacturer's instructions for the correct amount of refrigerant to be charged. Connect the refrigerant cylinder to the service port of the system. Slowly open the valve on the refrigerant cylinder and allow the refrigerant to flow into the system. Monitor the pressure and temperature of the system during the charging process using a refrigerant gauge set.
Final Checks and Commissioning
Inspect the entire air conditioning pipeline installation one more time to ensure that all connections are secure, the insulation is intact, and there are no visible signs of damage or leakage. Turn on the air conditioning system and check its operation. Monitor the cooling or heating performance, the temperature and pressure of the refrigerant, and the sound of the compressor. If there are any abnormal conditions, troubleshoot and fix them promptly.
In conclusion, installing an air conditioning pipeline requires careful planning, proper material selection, and precise execution. By following the steps outlined in this guide, you can ensure a successful installation of the air conditioning pipeline. As an Air Conditioning Pipeline supplier, we are committed to providing high - quality products and professional technical support. If you are interested in our products or need more information about air conditioning pipeline installation, please feel free to contact us for procurement and negotiation.
References
- ASHRAE Handbook - Refrigeration. American Society of Heating, Refrigerating and Air - Conditioning Engineers.
- Installation Manuals of Various Air Conditioning Systems. Different Manufacturers.