


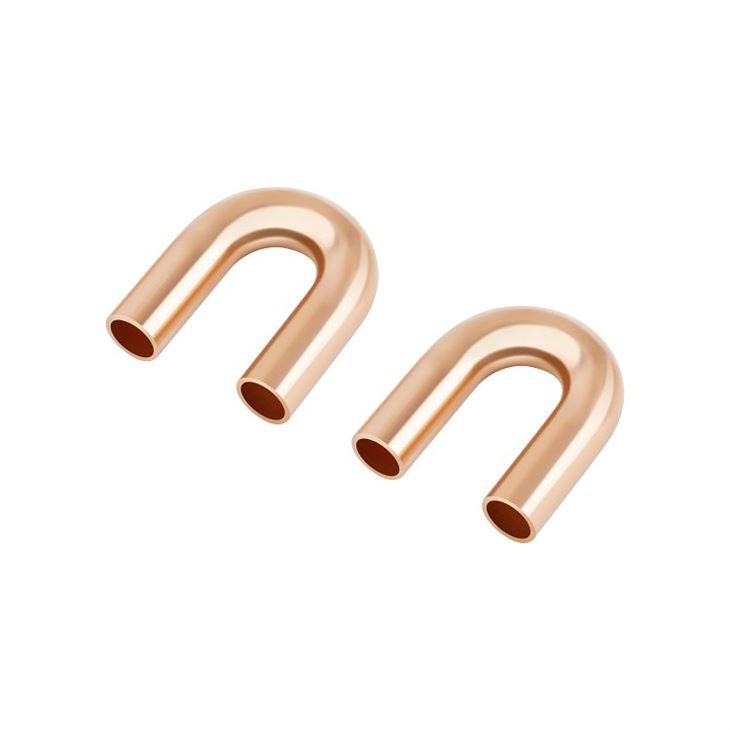
Sealing a joint between a copper U return bend and a pipe is a crucial step in many plumbing and HVAC systems. As a supplier of Copper U Return Bends, I've seen firsthand the importance of getting this process right. In this blog post, I'll share some detailed steps and best practices on how to seal such a joint effectively.
Understanding the Basics
Before we dive into the sealing process, it's essential to understand the materials involved. Copper is a popular choice for pipes and U return bends due to its excellent corrosion resistance, high thermal conductivity, and malleability. However, creating a reliable seal between these components requires the right techniques and materials.
Tools and Materials Needed
To seal the joint between a copper U return bend and a pipe, you'll need the following tools and materials:
- Copper U return bend and pipe: Ensure that both the U return bend and the pipe are made of high - quality copper and have compatible diameters. You can find a wide range of U Bend Pipe for Air Conditioning on our website.
- Flux: Flux is a chemical compound that helps clean the copper surfaces and prevents oxidation during the soldering process. It also promotes the flow of solder into the joint.
- Solder: Choose a solder that is suitable for copper joints. Lead - free solder is often preferred for plumbing applications due to health and environmental concerns.
- Torch: A propane or butane torch is commonly used to heat the joint. Make sure you have a torch with adjustable flame control.
- Wire brush or emery cloth: These are used to clean the surfaces of the pipe and the U return bend before soldering.
- Safety equipment: Wear safety glasses, gloves, and a fire - resistant apron to protect yourself from heat and molten solder.
Step - by - Step Sealing Process
Step 1: Prepare the Surfaces
The first step is to clean the ends of the pipe and the inside of the U return bend. Use a wire brush or emery cloth to remove any dirt, grease, or oxidation from the surfaces. This will ensure a good bond between the copper and the solder. Make sure to clean the surfaces thoroughly until they are shiny and free of contaminants.
Step 2: Apply Flux
Once the surfaces are clean, apply a thin layer of flux to the outside of the pipe end and the inside of the U return bend where the joint will be made. Flux helps to prevent oxidation during the heating process and allows the solder to flow more easily into the joint. Use a flux brush to apply the flux evenly.
Step 3: Assemble the Joint
Insert the pipe into the U return bend until it fits snugly. Make sure the joint is properly aligned and there are no gaps between the two components. You can hold the joint in place using a pipe clamp or your hands, but be careful not to get burned when heating the joint.
Step 4: Heat the Joint
Light the torch and adjust the flame to a medium - sized, blue - cone flame. Start heating the joint evenly, moving the torch in a circular motion around the joint. Heat the U return bend first, as it has a larger mass and will take longer to heat up. Keep the torch moving to avoid overheating any one area.
Step 5: Apply Solder
Once the joint is hot enough, touch the end of the solder to the joint. If the joint is at the right temperature, the solder will melt and be drawn into the joint by capillary action. Continue adding solder until the joint is filled with a continuous bead of solder around the perimeter. Be careful not to add too much solder, as this can cause blockages or weak joints.
Step 6: Cool the Joint
After the joint is filled with solder, remove the torch and let the joint cool naturally. Do not blow on the joint or immerse it in water to cool it quickly, as this can cause the solder to crack or form a weak bond. Once the joint is cool, use a damp cloth to wipe away any excess flux.
Best Practices for Sealing
- Proper Heating: Make sure to heat the joint evenly to ensure that the solder flows properly. Overheating can cause the flux to burn and the solder to form a poor bond.
- Solder Quantity: Use the right amount of solder. Too little solder can result in a weak joint, while too much can cause blockages or other problems.
- Cleanliness: Keep the surfaces clean throughout the process. Any dirt or contaminants can prevent the solder from bonding properly.
Troubleshooting
- Poor Solder Flow: If the solder does not flow into the joint, it may be because the joint is not hot enough or the surfaces are not clean. Try heating the joint more or cleaning the surfaces again.
- Solder Beading: If the solder forms beads instead of flowing smoothly, it may be because the flux has burned or the joint is overheated. Clean the joint, re - apply flux, and heat the joint again at a lower temperature.
Applications of Copper U Return Bends
Copper U return bends are widely used in various applications, especially in air conditioning and refrigeration systems. They are an essential component in Refrigeration Copper Fittings and Ac Copper Fittings. Their ability to provide a smooth flow of refrigerant and their excellent heat transfer properties make them ideal for these applications.

Conclusion
Sealing a joint between a copper U return bend and a pipe is a skill that requires practice and attention to detail. By following the steps and best practices outlined in this blog post, you can create a reliable and long - lasting joint. As a supplier of Copper U Return Bends, we are committed to providing high - quality products and supporting our customers with technical knowledge. If you are interested in purchasing our Copper U Return Bends or have any questions about the sealing process, please feel free to contact us for a procurement discussion.
References
- "Plumbing Handbook" by John Doe
- "HVAC Systems Design and Installation" by Jane Smith