

Soldering copper U bend fittings is a crucial skill in various industries, especially in air conditioning and refrigeration systems. As a trusted Copper U Bend Fitting supplier, I understand the importance of proper soldering techniques to ensure reliable and long - lasting connections. In this blog, I will guide you through the step - by - step process of soldering copper U bend fittings.
Understanding Copper U Bend Fittings
Copper U bend fittings are essential components in air conditioning and refrigeration systems. They are used to change the direction of refrigerant flow, allowing for efficient operation of the system. Our Air Conditioning Copper U Bend products are made from high - quality copper, which offers excellent thermal conductivity, corrosion resistance, and durability.
Tools and Materials Required
Before you start soldering, you need to gather the necessary tools and materials:
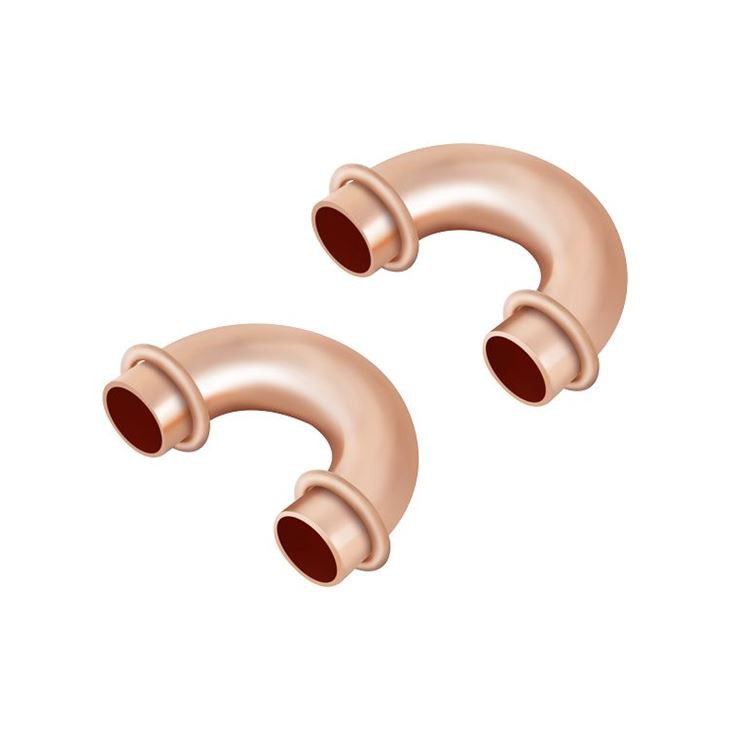

- Copper U bend fittings: Ensure that the fittings are clean and free from any dirt, debris, or oxidation. You can choose from our wide range of Crossover Bend Copper Fittings and Refrigeration Copper Tubing Pipe Fittings to meet your specific requirements.
- Copper tubing: Select the appropriate size of copper tubing that matches the fittings. The tubing should also be clean and free from defects.
- Soldering torch: A propane or MAPP gas torch is commonly used for soldering copper fittings. Make sure the torch is in good working condition and has a proper flame adjustment.
- Solder: Use a lead - free solder that is suitable for copper soldering. The solder should have a melting point appropriate for the application.
- Flux: Flux is used to clean the copper surfaces and prevent oxidation during the soldering process. Apply a thin layer of flux to the mating surfaces of the fittings and tubing.
- Safety equipment: Wear safety glasses, gloves, and appropriate clothing to protect yourself from heat, flames, and molten solder.
Preparing the Surfaces
- Clean the fittings and tubing: Use a wire brush or sandpaper to clean the outer surface of the tubing and the inner surface of the U bend fittings. This will remove any oxidation, dirt, or grease, ensuring a good bond between the solder and the copper.
- Apply flux: Once the surfaces are clean, apply a thin layer of flux to the outside of the tubing and the inside of the fitting. The flux will help the solder flow evenly and create a strong joint.
Assembling the Fittings
- Insert the tubing into the fitting: Carefully insert the cleaned and fluxed tubing into the U bend fitting until it reaches the stop. Make sure the tubing is centered and fully seated in the fitting.
- Secure the joint: Hold the tubing and fitting firmly in place to prevent any movement during the soldering process. You can use clamps or a vise if necessary.
Soldering the Joint
- Heat the joint: Ignite the soldering torch and adjust the flame to a medium - sized, blue - colored flame. Start heating the fitting evenly around the joint, moving the torch in a circular motion. Avoid overheating any one area, as this can cause the flux to burn and the solder to flow unevenly.
- Apply the solder: Once the fitting is hot enough, touch the end of the solder wire to the joint. The heat from the fitting will melt the solder, and it will flow into the joint by capillary action. Keep applying the solder until the joint is filled with a continuous bead of solder around the perimeter.
- Control the solder flow: Be careful not to apply too much solder, as this can cause the joint to become weak or block the flow of refrigerant. If excess solder is present, you can use a solder sucker or a damp cloth to remove it while the solder is still molten.
- Cool the joint: After the joint is fully soldered, remove the torch and allow the joint to cool naturally. Do not quench the joint with water, as this can cause thermal shock and weaken the joint.
Inspecting the Joint
- Visual inspection: Once the joint has cooled, visually inspect the joint for any signs of defects, such as cracks, voids, or incomplete solder penetration. The joint should have a smooth, continuous bead of solder around the perimeter.
- Pressure test: If possible, perform a pressure test on the joint to ensure its integrity. This can be done by pressurizing the system with air or refrigerant and checking for any leaks.
Troubleshooting Common Problems
- Cold solder joint: A cold solder joint occurs when the solder does not flow properly and forms a weak bond. This can be caused by insufficient heat, dirty surfaces, or incorrect flux application. To fix a cold solder joint, re - heat the joint and apply more solder until the joint is properly filled.
- Overheated joint: An overheated joint can cause the flux to burn, the solder to become brittle, and the copper to warp. If you suspect an overheated joint, allow it to cool completely and then inspect it for damage. If necessary, cut out the damaged section and re - solder the joint.
- Leaking joint: A leaking joint can be caused by a variety of factors, such as improper soldering, a damaged fitting, or a cracked joint. To fix a leaking joint, first identify the source of the leak. If the leak is minor, you can try re - soldering the joint. If the leak is severe, you may need to replace the fitting or the tubing.
Tips for Successful Soldering
- Practice makes perfect: Soldering is a skill that requires practice to master. Start with simple joints and gradually work your way up to more complex ones.
- Use the right equipment: Invest in high - quality soldering equipment and materials to ensure the best results.
- Follow safety procedures: Always wear safety equipment and work in a well - ventilated area to avoid exposure to harmful fumes.
- Maintain the equipment: Keep your soldering torch, flux, and other tools clean and in good working condition. This will ensure consistent performance and reliable soldering results.
Conclusion
Soldering copper U bend fittings is a skill that can be learned with practice and the right techniques. By following the steps outlined in this blog, you can create strong, reliable joints that will ensure the efficient operation of your air conditioning and refrigeration systems. As a Copper U Bend Fitting supplier, we are committed to providing high - quality products and supporting our customers with the knowledge and resources they need. If you have any questions or need further assistance with soldering or choosing the right fittings for your project, please feel free to contact us for procurement and negotiation.
References
- "Copper Soldering Handbook" - Copper Development Association
- "Air Conditioning and Refrigeration Technology" - Eugene Silberstein